Guangzhou Liangdian Automotive Supplies Co., Ltd.
Guangzhou Liangdian Automotive Supplies Co., Ltd.
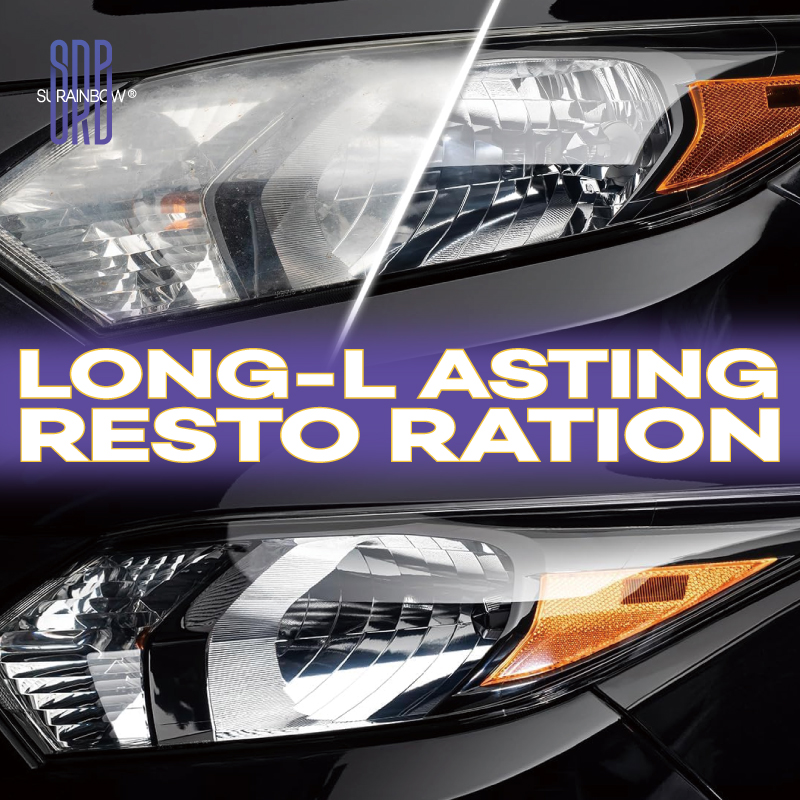
Your headlights take the brunt of all the dirt and grime on the road, and they can also become clouded and yellow over time due to oxidation from the sun. As both of these factors can affect the quality of your headlight beams and reduce your visibility at night, it’s really important to make sure your headlights remain in a good condition.
Stay safe and keep your headlights shining with our step-by-step guide.
Giving your headlights a good clean will help to remove the worst of the dirt, and will also allow you to see if any restoration is required to get the plastic casing clear and shining again. You can do this as part of your regular car cleaning process – just make sure you give your headlights a bit of extra attention while you’re working your way around your car.
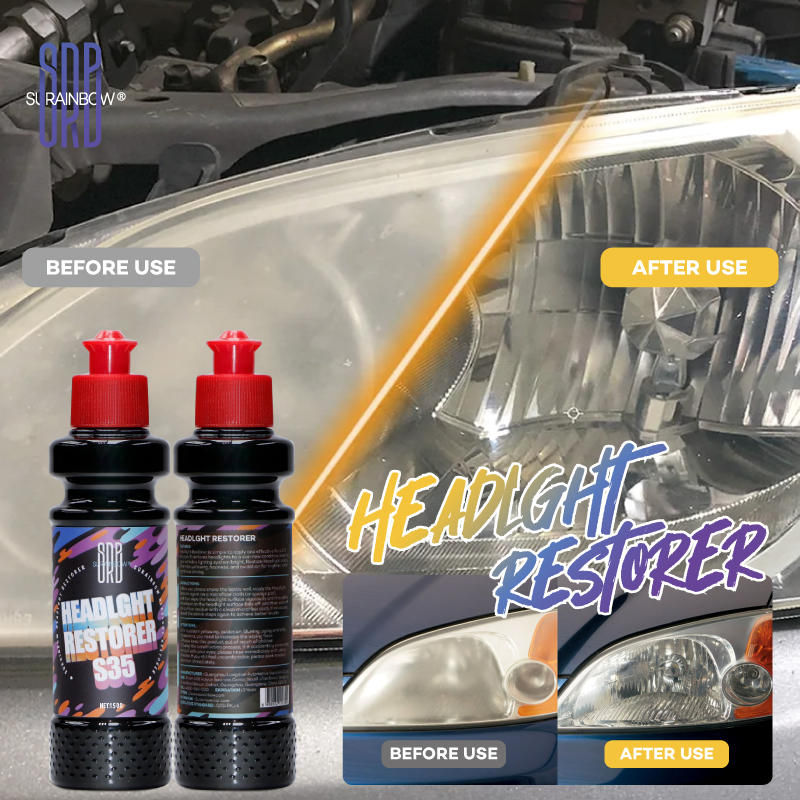
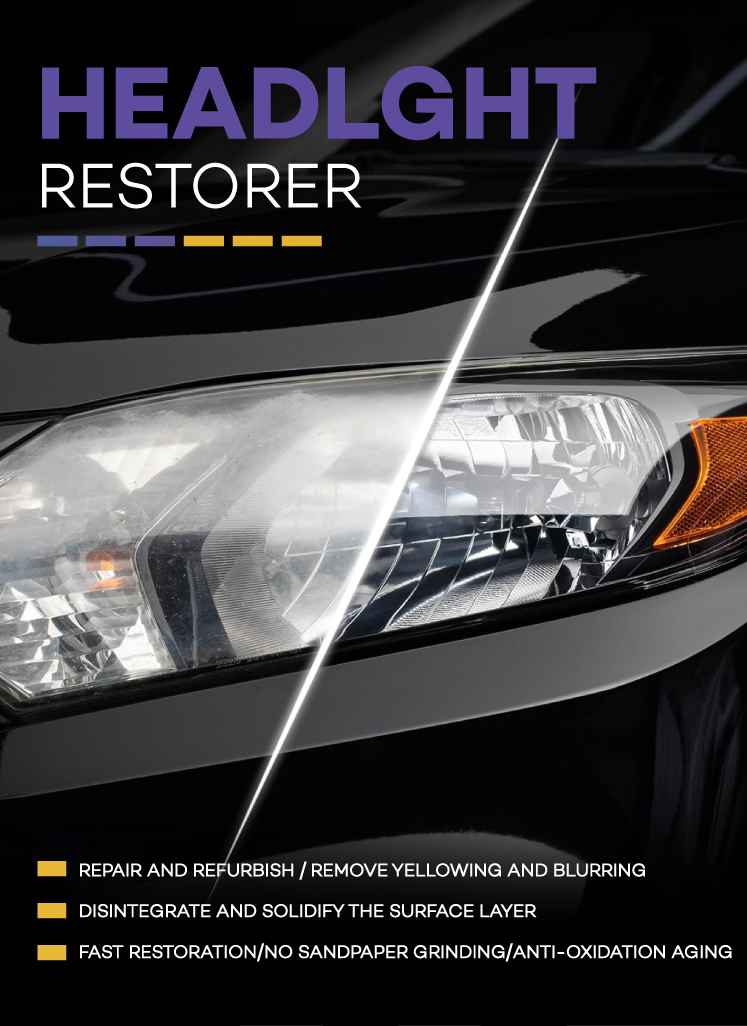
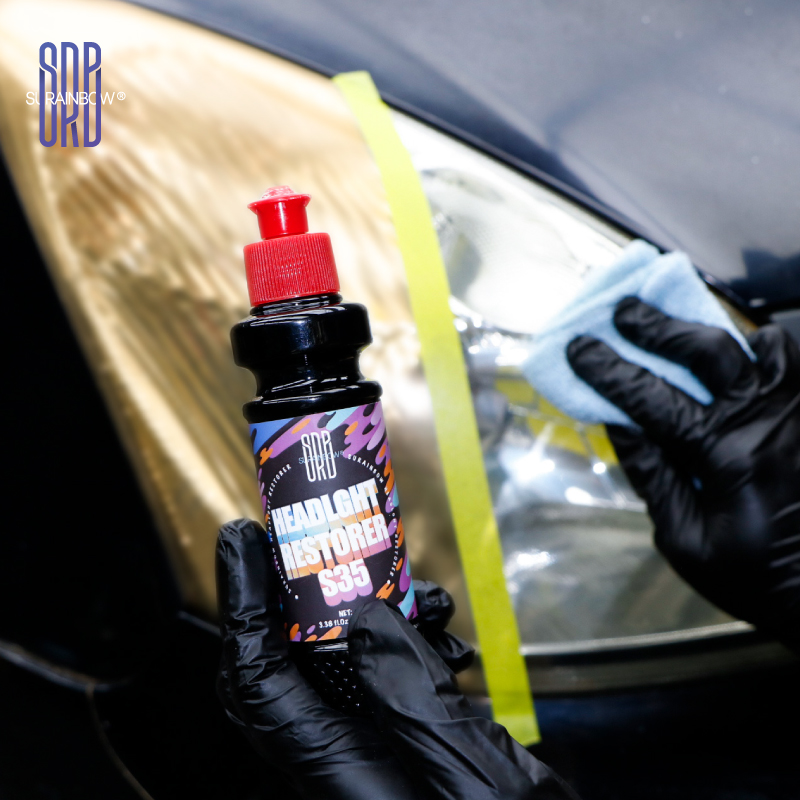
If you find that the plastic covering on your headlights is cloudy, yellow or showing other defects then we’d recommend a product like the SRB HEADLIGHT RESTORE KIT .
An all-in-one kit like this is simple, easy to use and has been specifically designed to clean headlights. It effectively removes fine scratches, surface contaminants, oxidation, cloudiness, and yellowing, leaving plastics brilliantly clear and polished. While it’s been designed for headlights, you can also use the kit on brake lights, plastic convertible windows, motorbike windscreens, helmet face shields and more.
It’s a good idea to cover the area surrounding your headlights with tape, to protect it from any potential damage. Make sure you use low tack tape like masking tape or automotive painting tape to avoid marking your paintwork.
If you find that your headlights have any defects, then the SRB kit comes with a Stubborn Defect Removal Pack. Liberally spray your headlights with water and then carefully use the sanding pads to work those defects out. Make sure you follow the kit’s instructions at all times to prevent any accidental damage.
Next, you want to attach the unique wool buffing pad to the end of your drill and apply the SRB headlight cream to the pad.
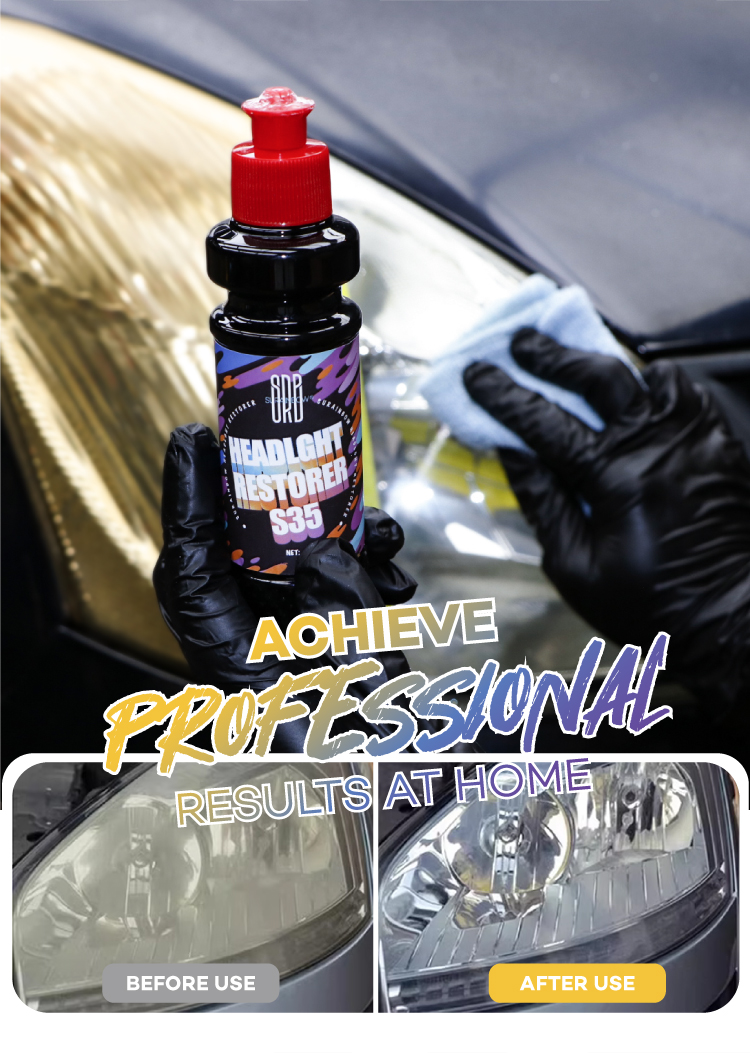
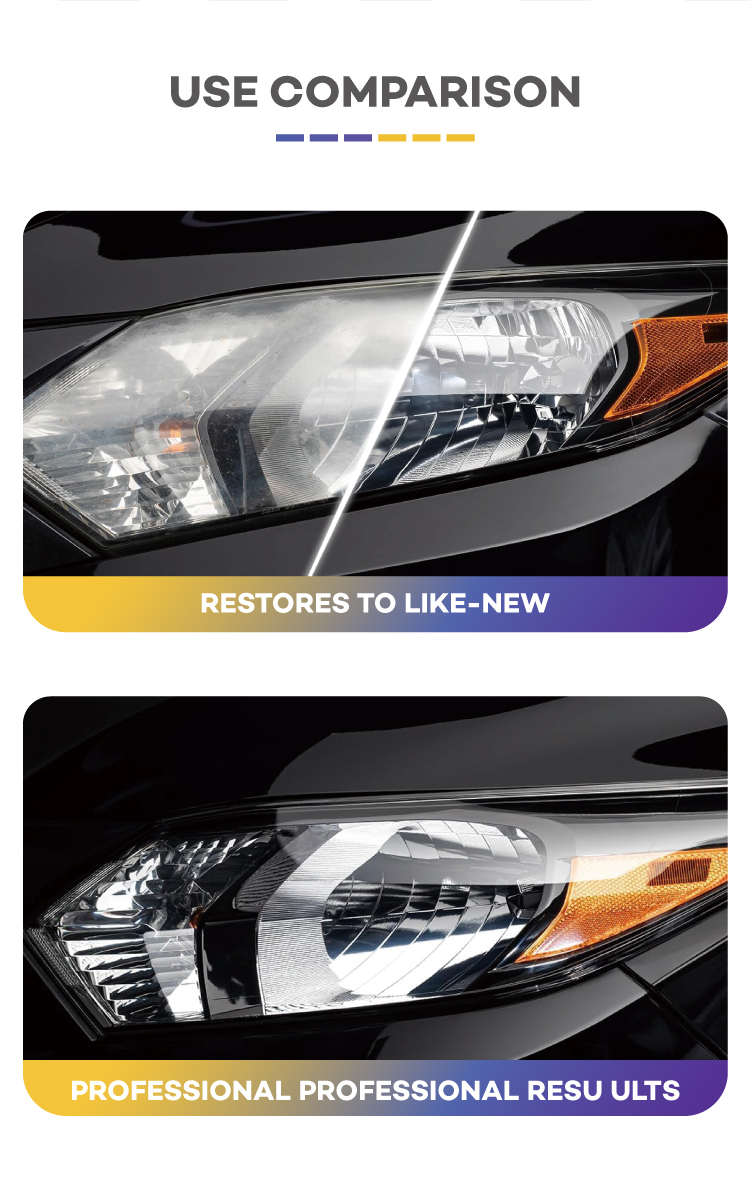
Spread the Plast-RX formula across your headlights using the pad. The specialist formula, pad material, and movement from the drill should deliver amazing cleaning results in minutes.
Rinse off any residue with a damp microfibre cloth and remove the tape. Your car should now be ready to hit the road!
If you find that your headlights are clean and clear, but your beams still aren’t as strong or balanced as they should be, then it probably means that your bulbs need replacing.
In this case, all you need to do is enter your vehicle registration number online and we’ll show you appropriate options for your vehicle. We also offer a hassle-free car bulb fitting service, where one of our experienced technicians will fit the new bulbs for you while you wait. Simply choose this option during the online checkout process.
